As a longtime fan of Minecraft, I've spent countless hours building, crafting, and exploring. But when I first started playing in multiplayer mode and using Minecraft Minecoins, I realized there's a lot to learn if you want to enjoy everything the game has to offer. Whether you're diving into multiplayer for the first time or just want to use your Minecoins efficiently, this step-by-step guide will walk you through the process based on my personal experience. You'll also learn how to avoid overpaying by discovering the cheapest way to buy Minecraft Minecoins safely.

Step 1: Set Up Your Minecraft Account
Before you can access multiplayer features, you’ll need a valid Minecraft account. Go to the official Minecraft website, create your account, and download the latest version of the game. Make sure you're logged in with a Microsoft account, as this is required for multiplayer access and purchases with Minecraft Minecoins.
Step 2: Choose the Right Minecraft Edition
Not all Minecraft editions support the same features. For multiplayer and Minecoin use, make sure you’re using Minecraft: Bedrock Edition, which runs on Windows 10/11, mobile, Xbox, and Nintendo Switch. Java Edition doesn’t support Minecoins, so it’s not ideal for this setup.
Step 3: Understand Minecraft Minecoins
Minecraft Minecoins are the official in-game currency used to buy skins, maps, texture packs, and more from the Minecraft Marketplace. You cannot earn Minecoins through gameplay — they must be purchased with real money. I remember getting confused at first because I thought completing challenges would earn me some. But in reality, Minecoins are strictly a paid currency used to personalize your game.
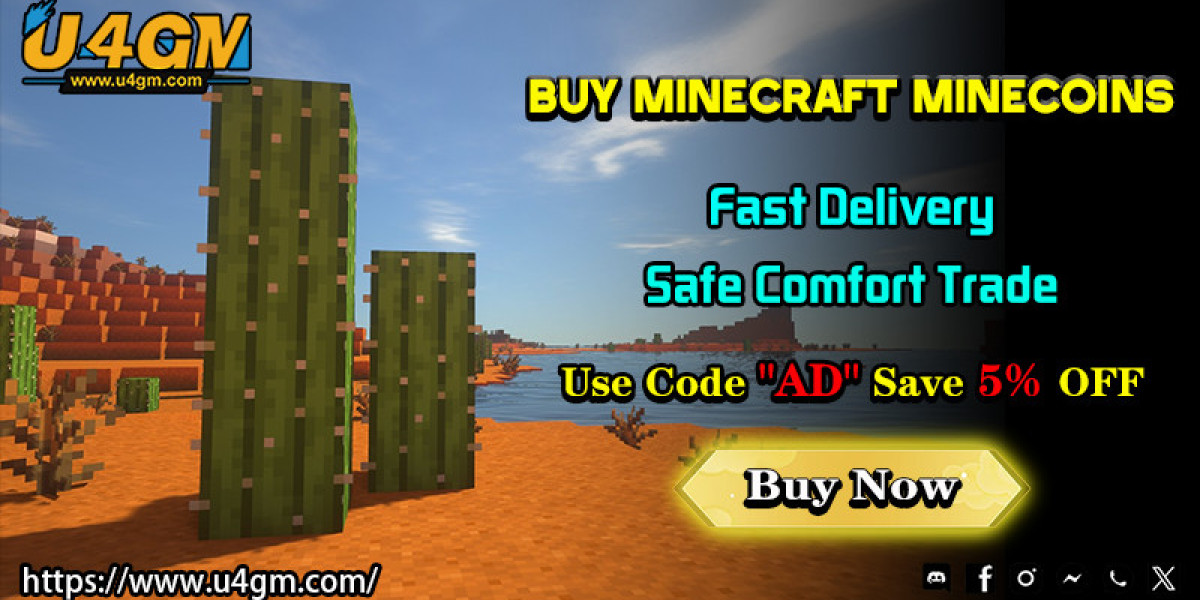
Step 4: Find the Cheapest Way to Buy Minecraft Minecoins
When I first bought Minecoins, I used the in-game store, but later I found that wasn’t the most cost-effective option. After doing some research and comparing prices, I discovered that third-party platforms like U4GM offer the cheapest way to buy Minecraft Minecoins. They often have discounts, promotions, and bulk packages that the official store doesn’t provide. Always make sure the site is secure and has verified reviews before making a purchase.
Step 5: Add Minecoins to Your Account
Once you've purchased Minecoins, they’ll be added to your Microsoft account balance. In my experience, U4GM processed the delivery quickly—mine arrived in under 15 minutes. After the coins show up in your balance, you can start spending them in the Marketplace for items that enhance your multiplayer experience.
Step 6: Join or Create a Multiplayer Server
With your account ready and customizations in place, it’s time to jump into multiplayer. You can join public servers by browsing the "Servers" tab in the main menu or host your own using a Realms subscription. Having unique skins or resource packs purchased with Minecraft Minecoins makes your character stand out, which I personally love when playing with friends or new communities.
Step 7: Stay Safe and Have Fun
Finally, always be cautious when playing online. Use parental controls if you're setting this up for a younger player, and avoid sharing personal information on public servers. I recommend starting on trusted servers or playing with friends first before exploring wider communities.
Getting started with Minecraft multiplayer and Minecoins might seem complicated at first, but with the right steps, it becomes a fun and rewarding experience. From setting up your account to finding the cheapest way to buy Minecraft Minecoins, every detail helps you enjoy the game to its fullest. Based on my own experience, once you’ve gone through this process, you’ll never want to go back to single-player only.
Beginner Guide: 10-Step Guide to Setting Up a Minecraft Brewing Station